
How to Update the Website
Making General Website Edits
Step One
Log into WordPress. seedeffect.org/wp-admin
Step Two
From the WordPress dashboard select “Pages” in the menu on the left hand side of the screen.
Step Three
From here select the page you wish to edit and then on the following screen click “Build On The Front End”.
Step Four
From here you can make edits to the sections, rows, and modules on this page. Click on the element you wish to edit to bring up a row of icons.
Sections
Everything you build starts with a section. Sections are blue and are the biggest building block in the builder. You can think of them as horizontal stacking blocks that can group your content into visually distinguishable areas.
Rows
Rows are green and are nested inside sections and can contain a variety of column layouts that help structure your content.
Modules
Modules are grey and are the content blocks. So Images, Text, Sliers, Blurbs and more are all examples of modules.
Step Five
By clicking on the icons you can do a number of things but for now, let’s focus on a few main things.
By clicking and holding the arrow icon you can drag and drop your selection anywhere you would like.
![]() By clicking the overlapping boxes icon you can duplicate your selection.
By clicking the overlapping boxes icon you can duplicate your selection.
By clicking on the trashcan you can delete your selection.
To edit your selection, you can click the gear icon. This will open the module settings menu, which will allow you to update the text, change a picture, change the color, font size, etc.
More Information About The Module Settings Menu
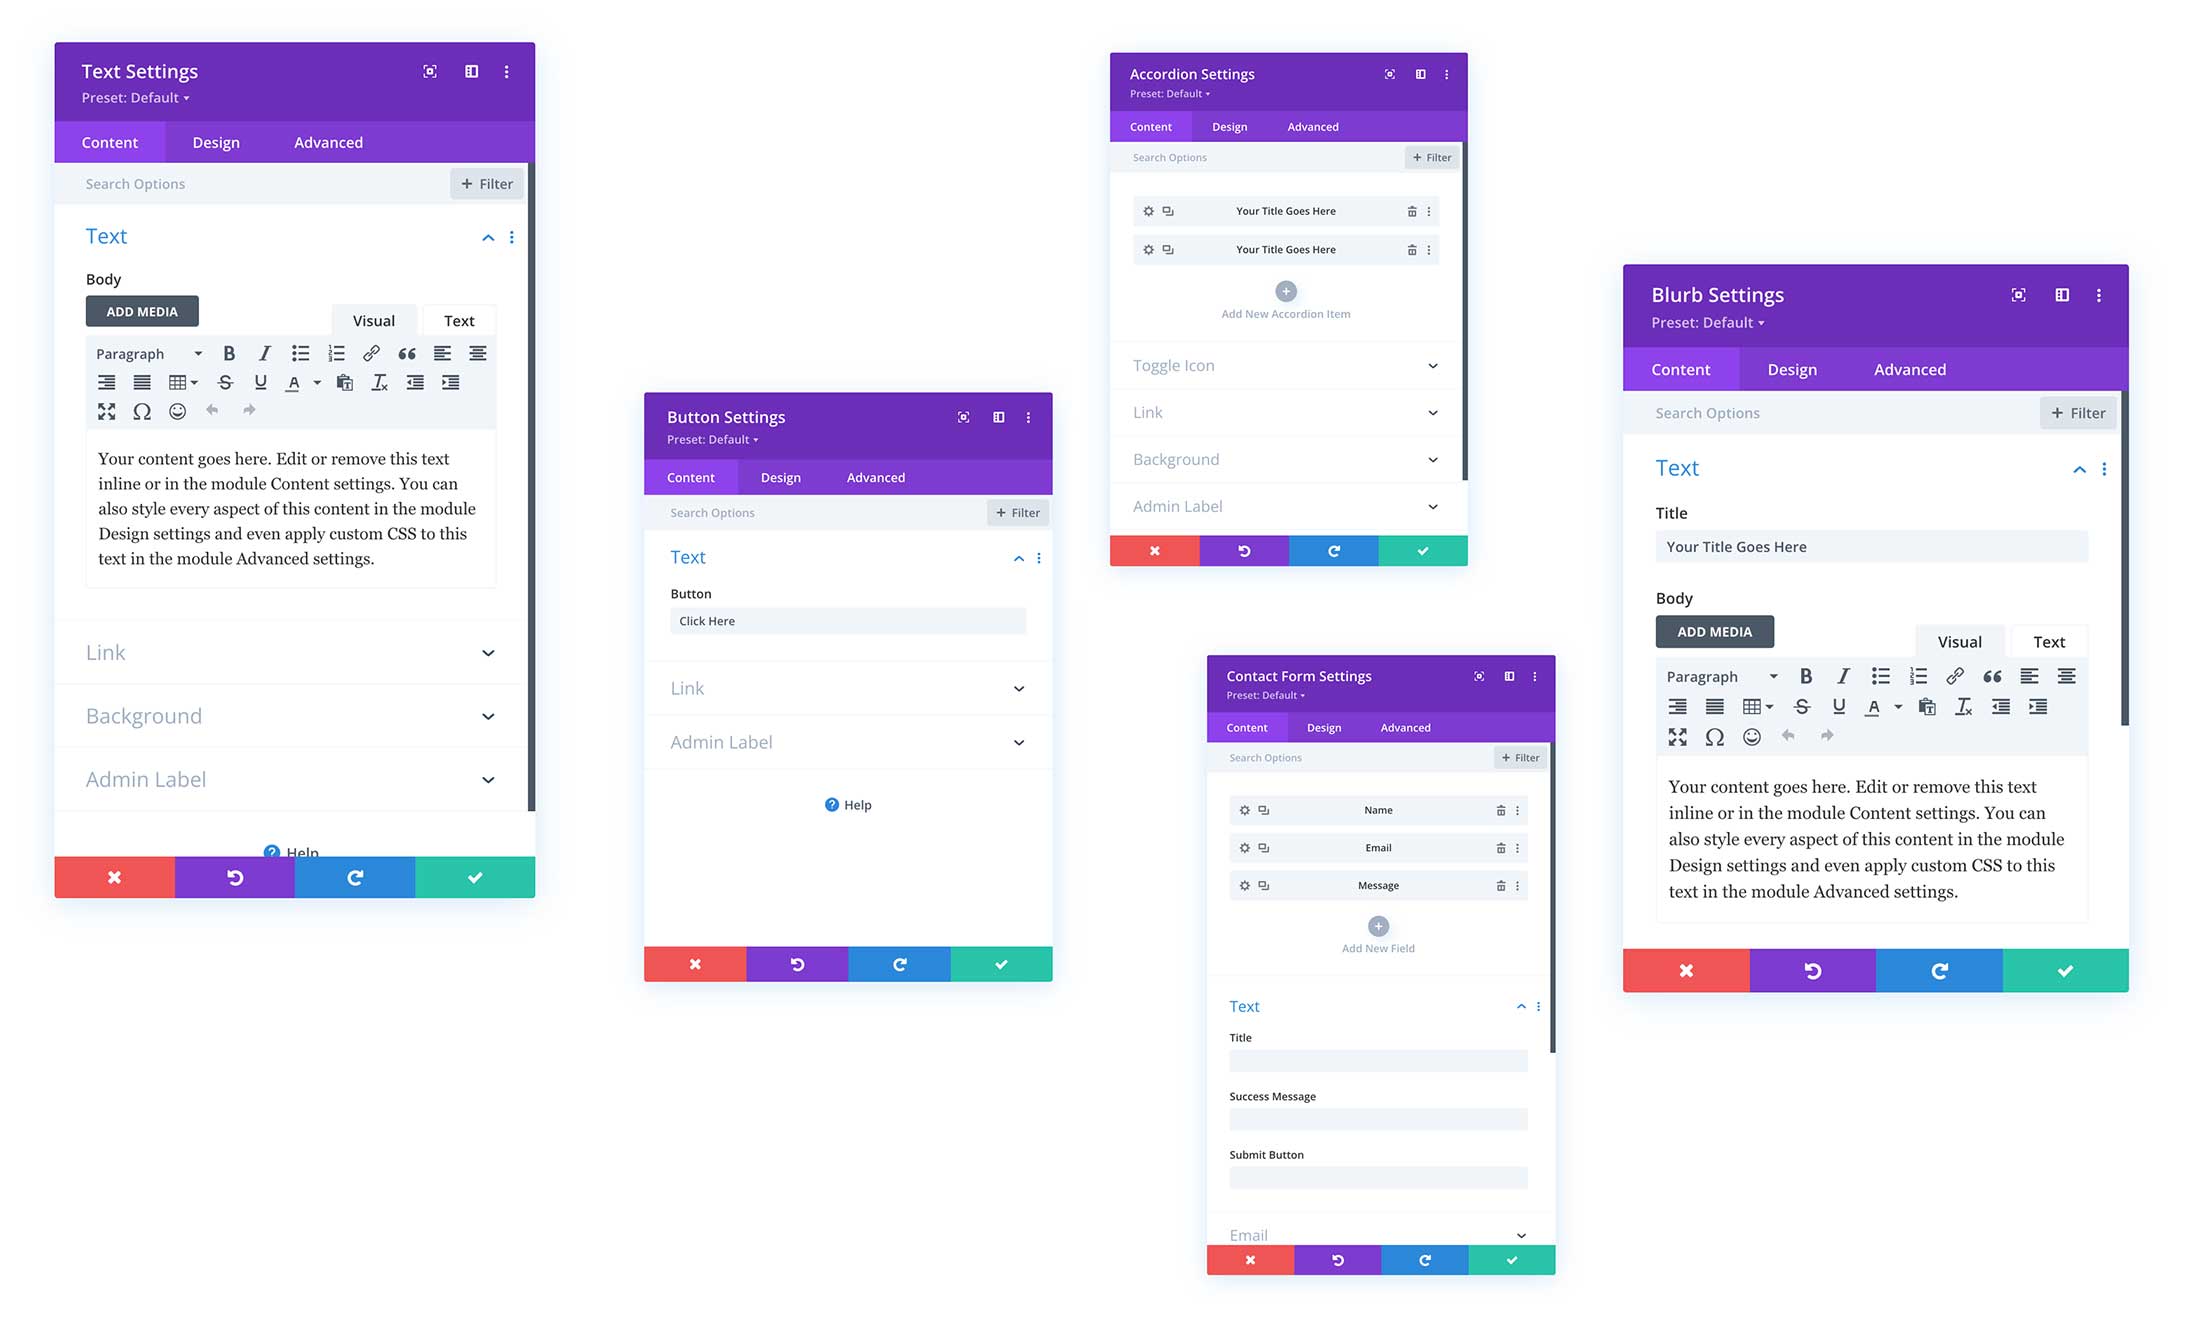
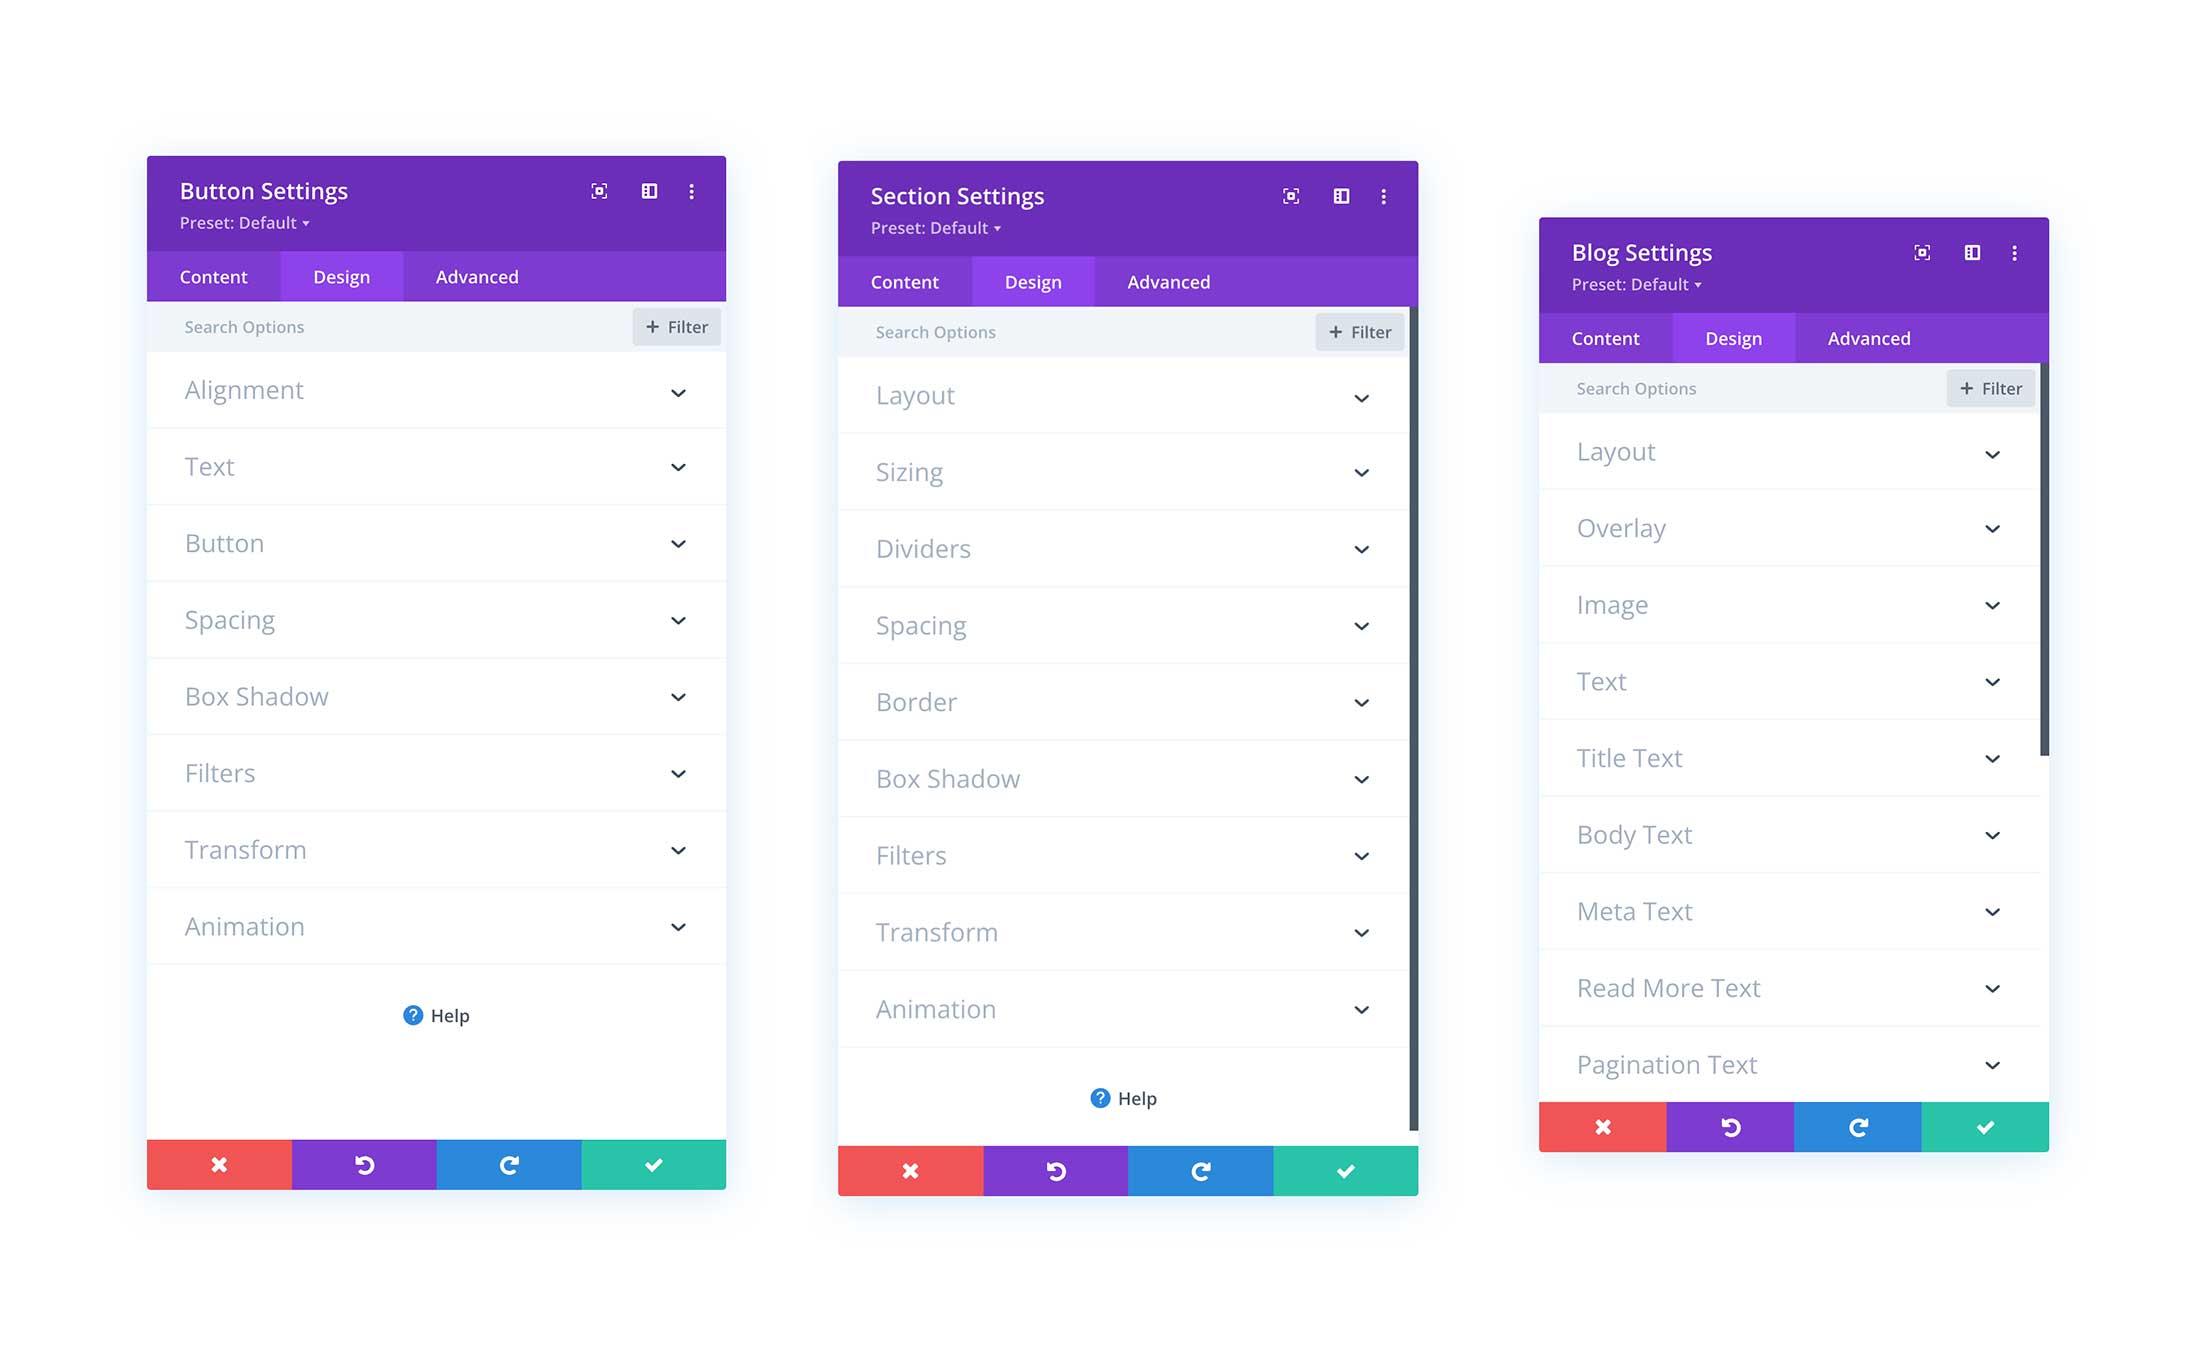
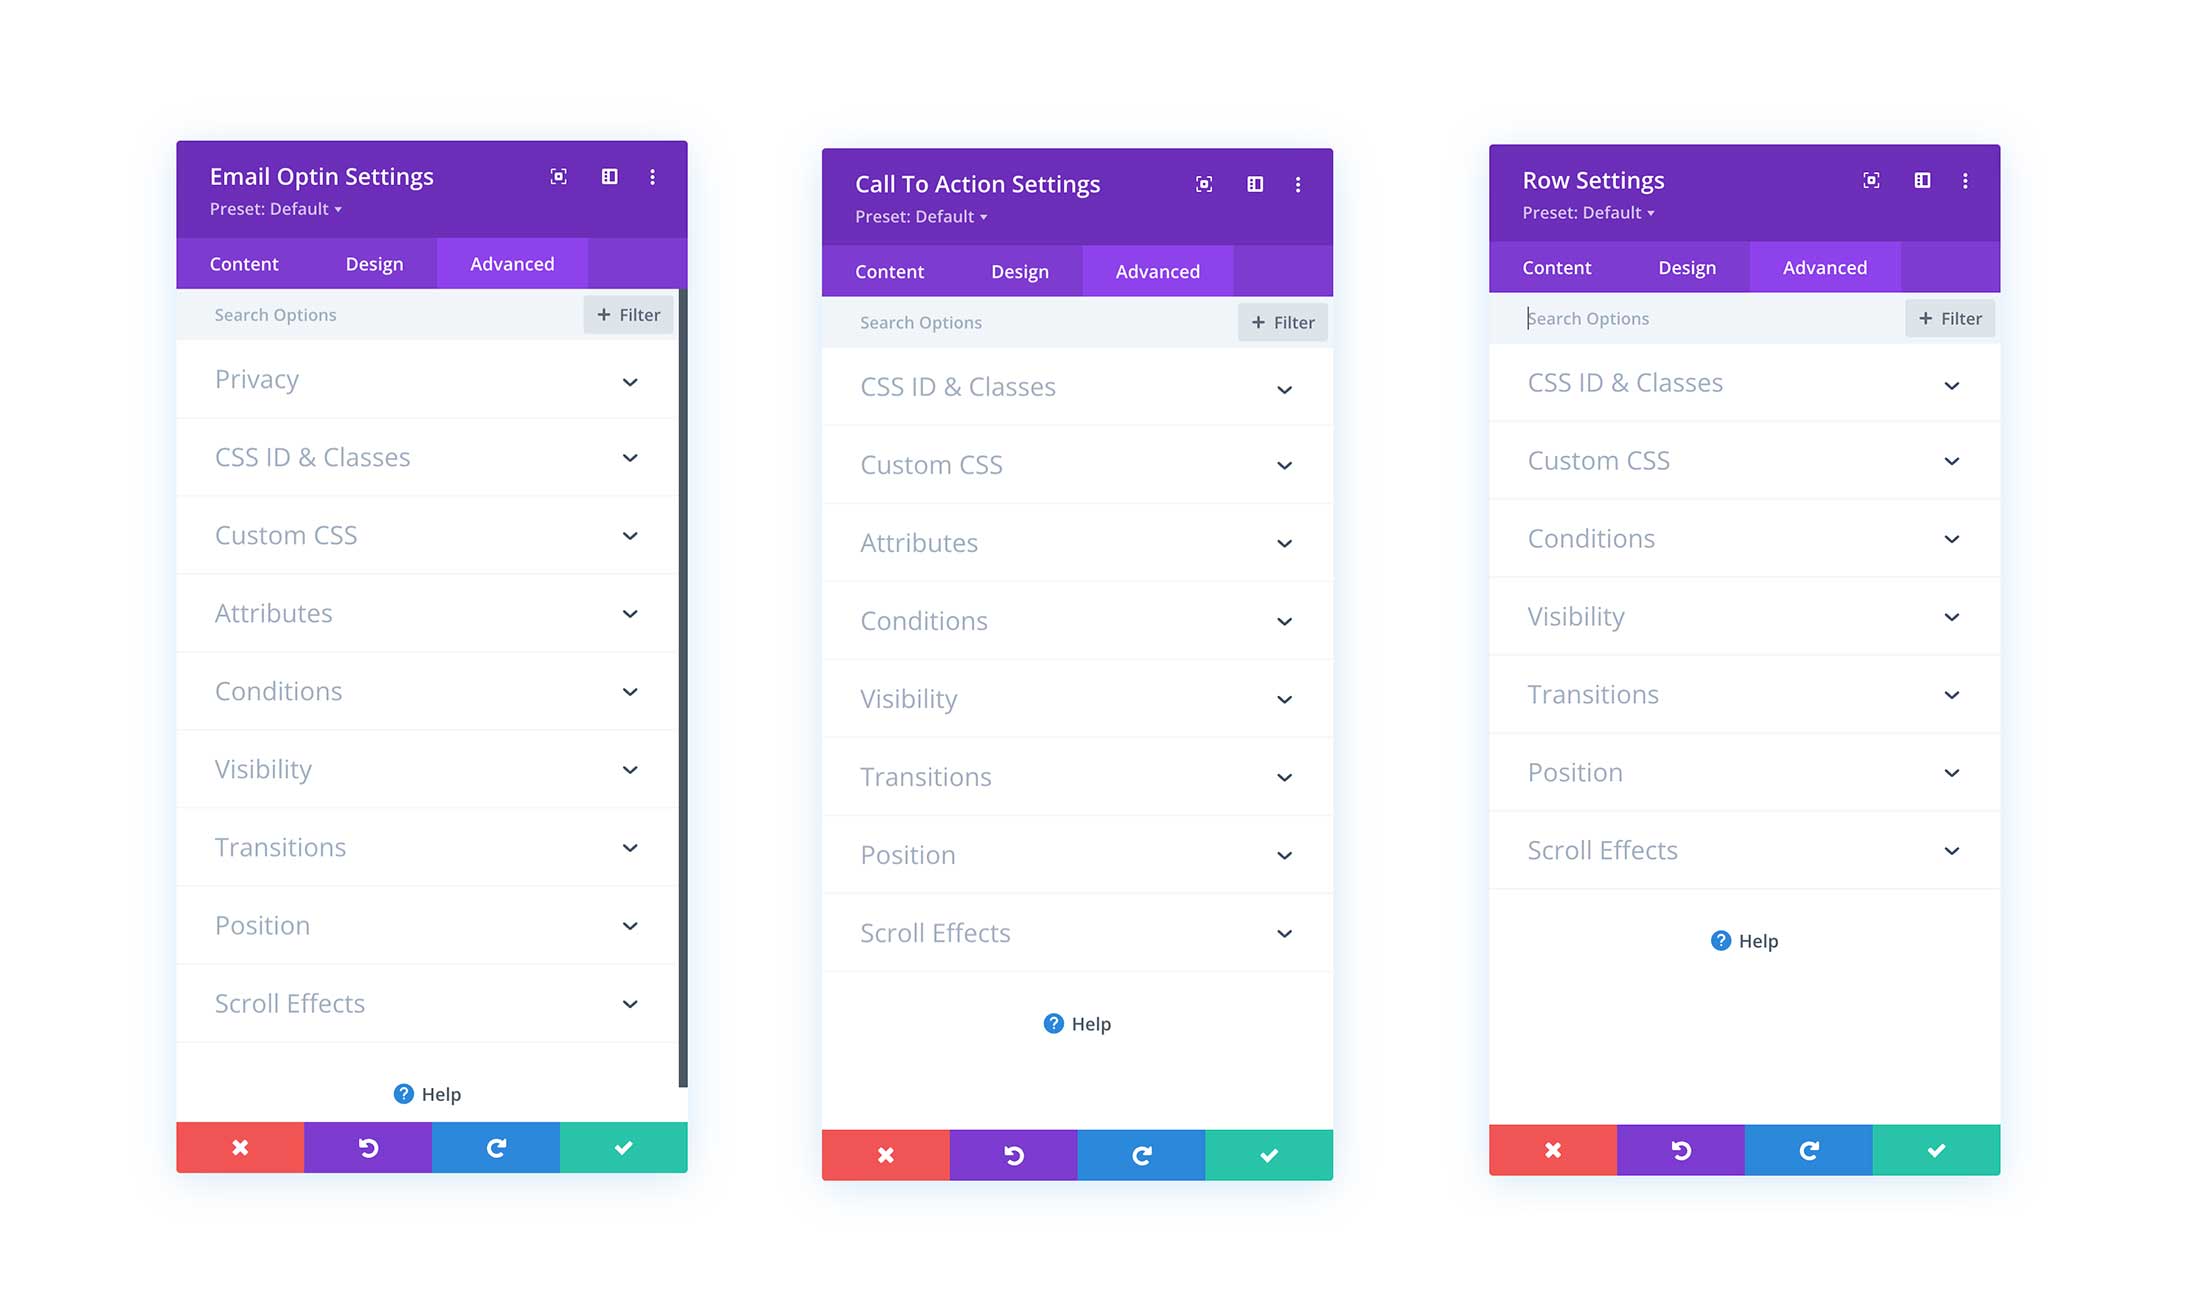
All modal windows have three tabs: Content, Design, and Advanced. This is where the content settings, design settings, and advanced settings are for any element you’re working on (whether that be a section, row, column, or module).
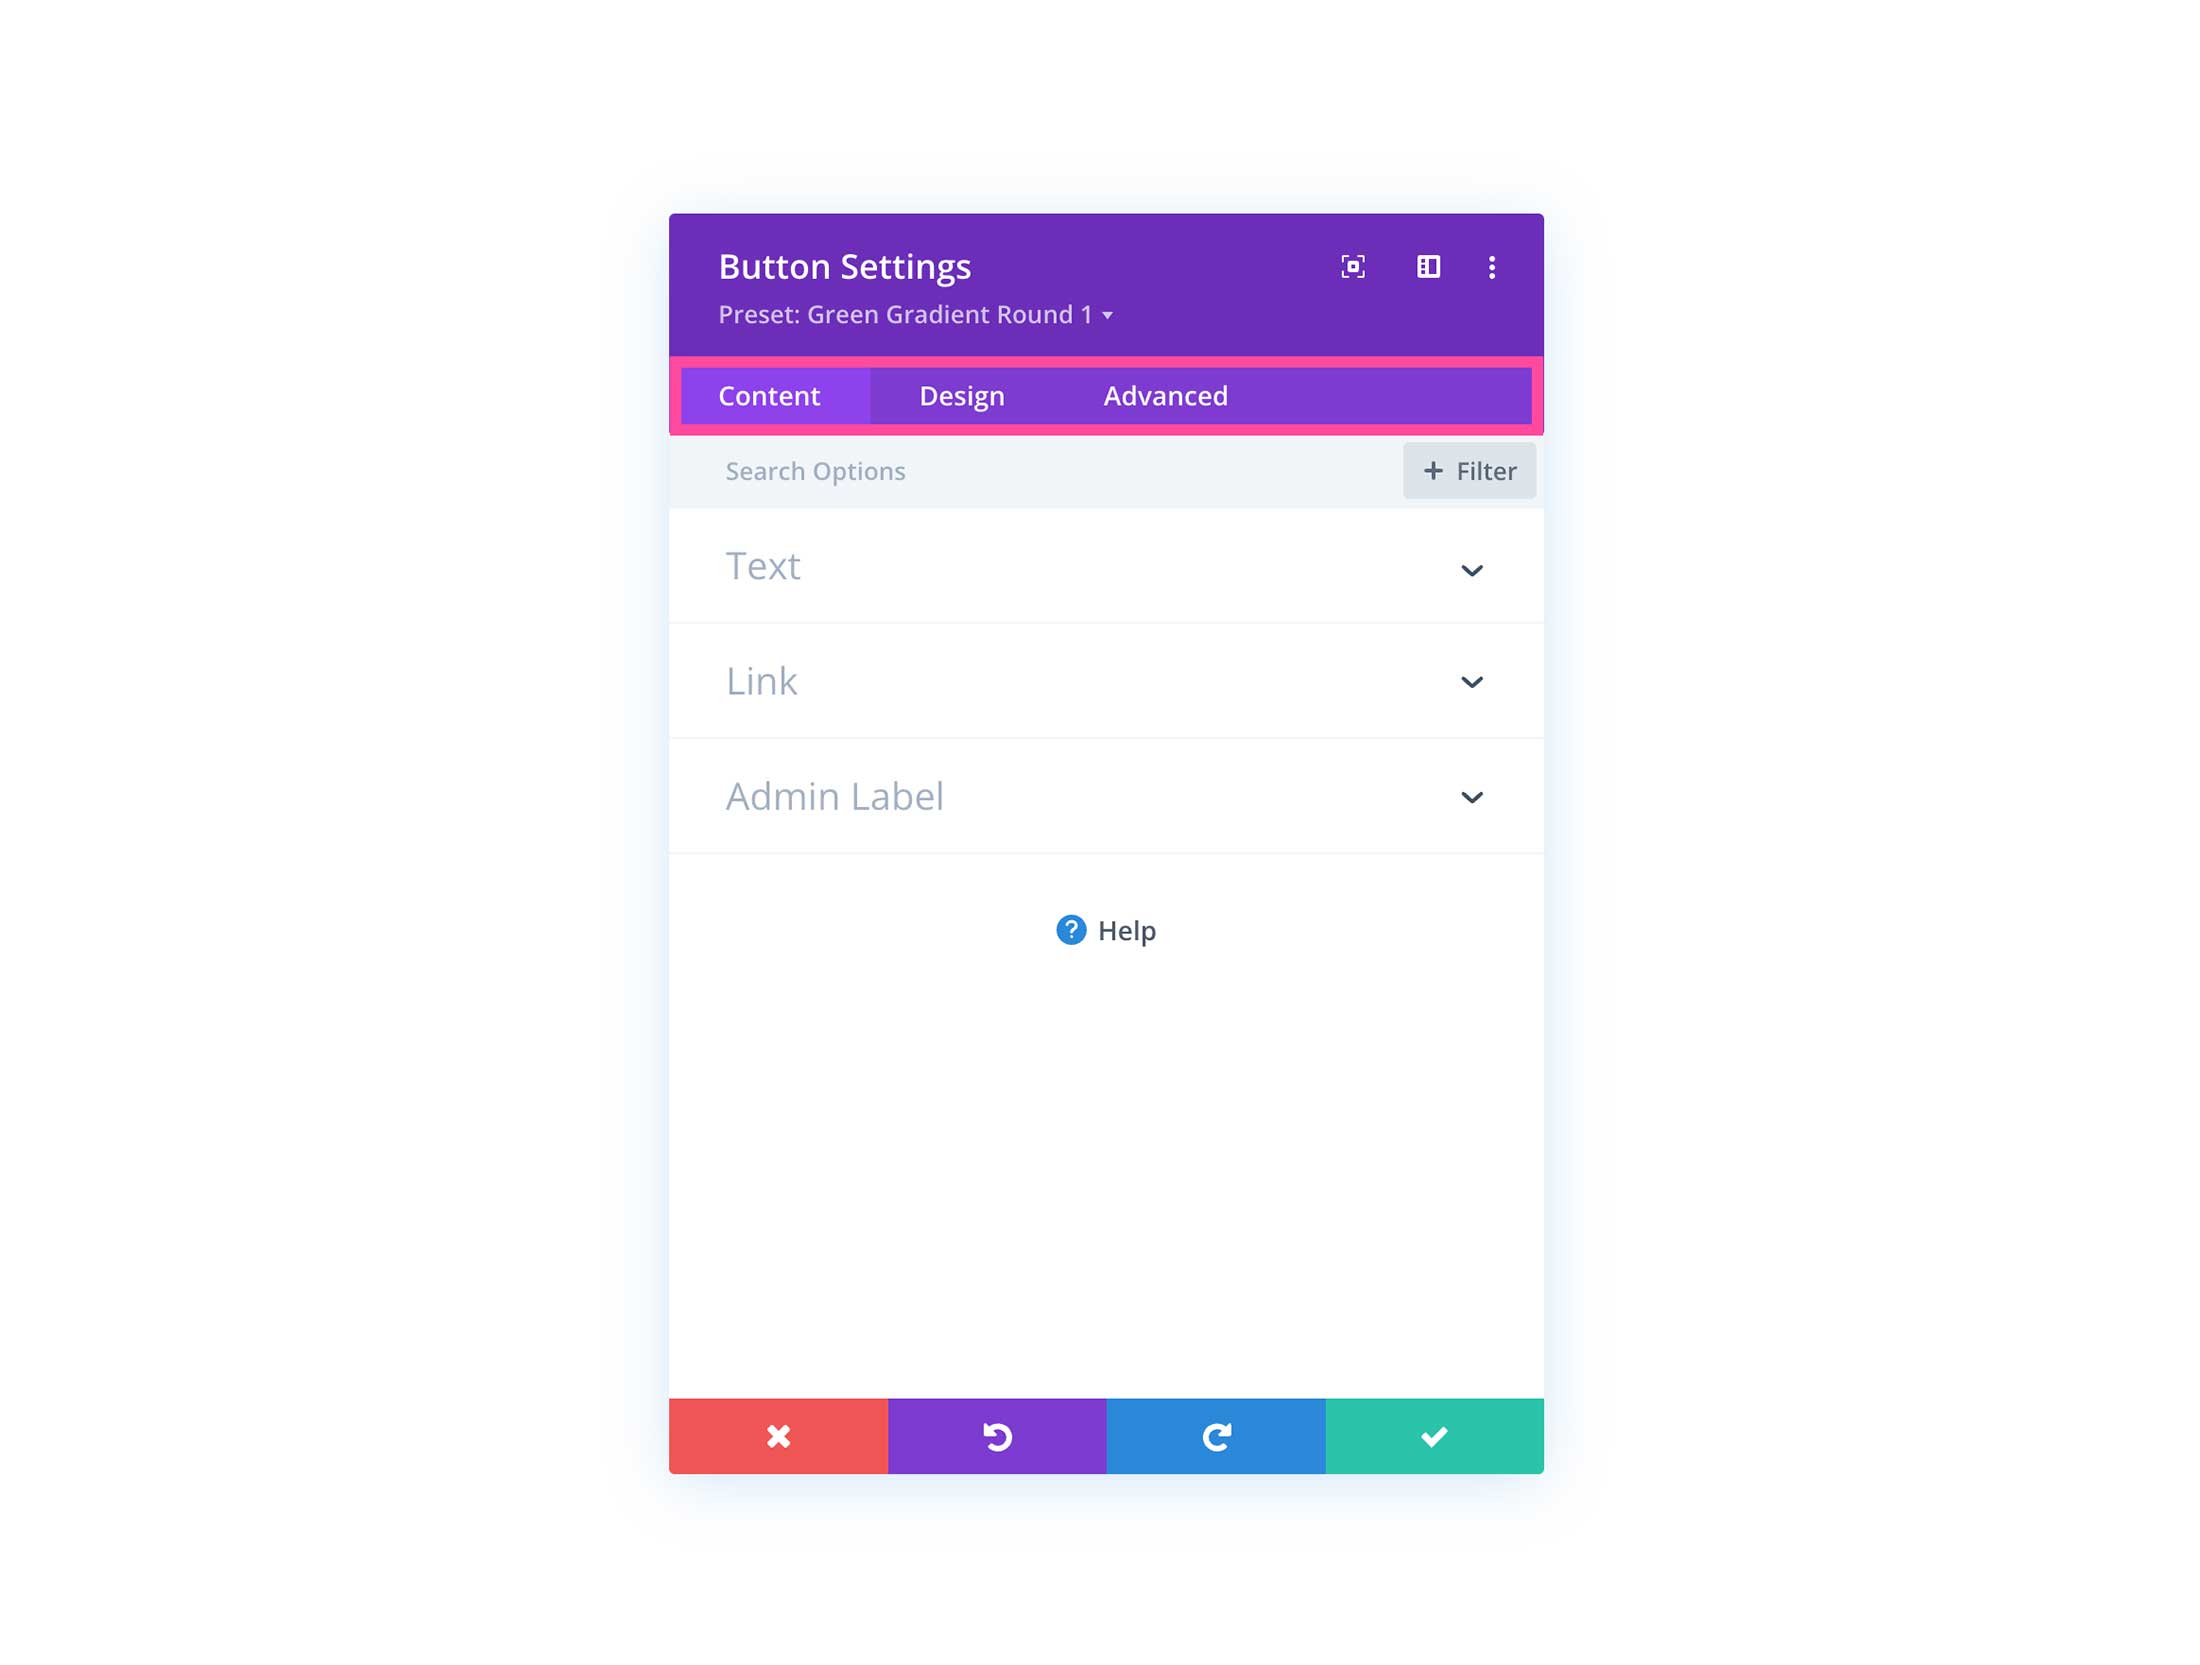
Content
The Content tab is where you can adjust the content settings of the element you’re working on. What’s in the Content tab varies depending on which element you are working on but this is where you can update text, images, and links along with a number of other things.
Design
The Design tab is where you can adjust the design settings for the element you are working on. These options vary but this is where you can adjust the height and width of the element, the spacing, the text size and color, the border, alignment, and much more.
Advanced
The Advanced tab is where you can access the advanced settings for whatever element you’re working on. Settings like Custom CSS, Visibility, Scroll Effects, Conditions, and more. These options should be used sparingly.
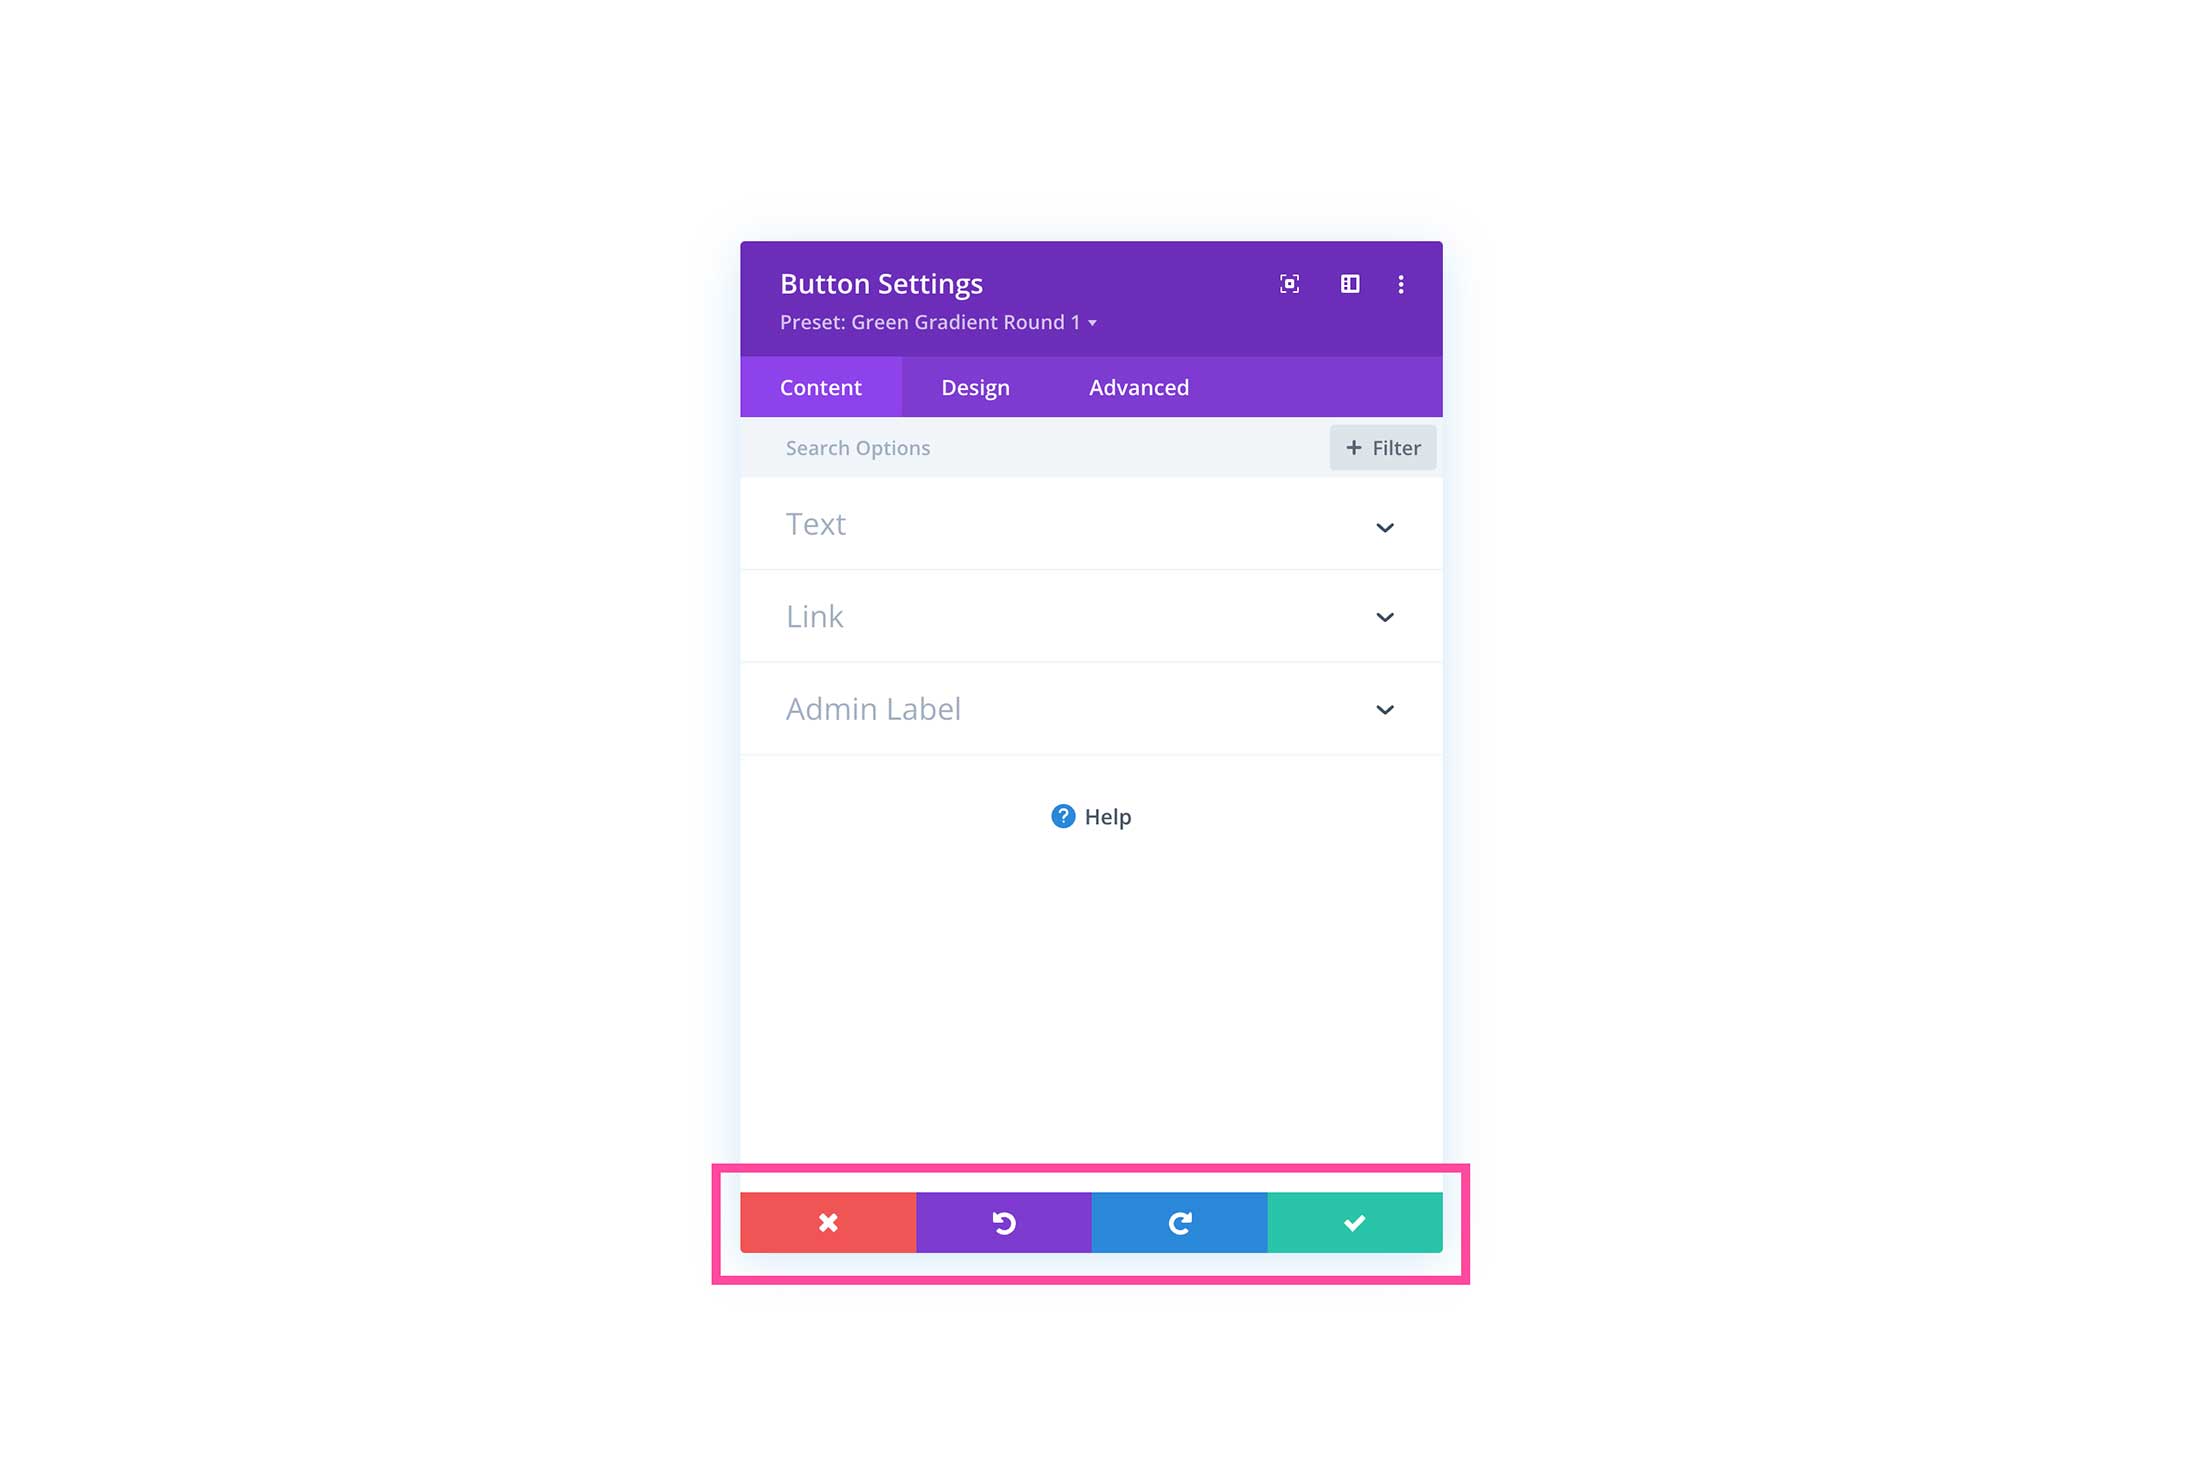
Bottom Buttons: Exit, Undo, Redo, Save.
At the bottom of the modal window, you’ll see 4 buttons from left to right: Exit (red), Undo (purple), Redo (blue), and Save (green).
Exit – If you exit the modal window without saving your changes first, they will be lost.
Undo – Undoes previous actions.
Redo – Redoes undone actions.
Save – Click this button to save your settings.
Step Six
Once you’ve made your edits, click the three dots at the bottom of the screen, select “Save”, and then click “Exit Visual Builder”.